Installation
Plug in the USB drive that is included with the software. If the USB is not plugged in, the program will run in demo mode. Restart your computer. Select “Open folder to view files.”

Next click “CardPress.exe.”

Now, select the language; agree to the conditions, and click “Next” to install. Now you’re ready to begin card creation!
Creating a card
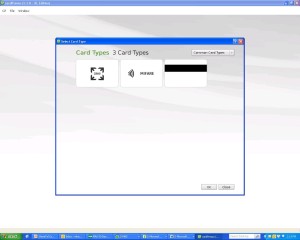
Select “Create” or “Templates” from the menu to being creating your card. Once you select either option, a dropdown menu will give you options for common card types or templates.
Once you’ve selected your card, dozens background options will show up. You can select a category of backgrounds, or show all. Simply double click on a background to transfer the background to your card. If you right click on the card and select edit background, the Photo Editor will pop up and here you can change the background. For example, using the “Color Balance” tool, you can alter the color scales to change the background look. Below is an example of the original background being changed with this tool.

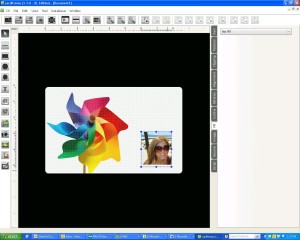
One of the ways to add a photo is to upload one from your desktop etc. by selecting the “Browse Image” tool. Double click on the card, and you’ll be able to select the photo you’d like to upload. Then click and drag to your choice of size. You can also use the “Position” tool to more precisely adjust the width and height.
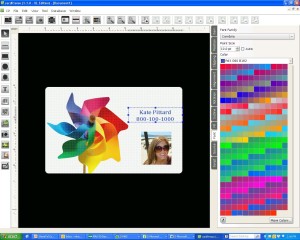
To add text, select the “T” text tool on the left side of the screen and double click on the card. From here you can drag the text box and type. You can change the type font and color with this same tool. By using font options such as “Fill” and “Outline,” you can further personalize the card.
Features
The entry XXS version has everything you need for basic card design, including barcodes, WIA/TWAIN, and magnetic encoding. XS adds .XLS, .CSV, and .TXT database connection. The XM version includes photo on database, FaceCrop tool for face recognition, and smartcard plugin. Upgrading to XL adds RFID Contactless direct encoding, multi-layout card designs, and operation logs. Finally, the XXL version has features like DESFire, web print server and net license up to 16 PCs.
The database feature allows you to save information in a centralized location. This makes creating or updating employee badges etc. convenient since you can easily locate information. See how the database helps you create, organize, and track large volumes of records in a centralized location here!
Use the “Cut/Crop” tool under “Photo Editor” to crop your photo to accommodate project needs. This tool is especially helpful if you find a template or background you like, but the background requires alterations to make it usable for your application.


The Text tool enables placement freedom with the “Position” tool. This is very useful if you want the card design to have text orientation other than horizontal.

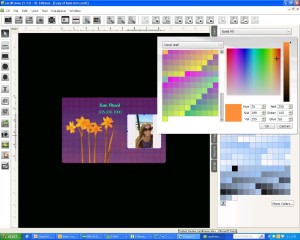
Many color schemes are available by using the “Fill” tool. Select the solid or gradient fill, and then click “More Colors.” Dozens of color categories appear from the dropdown menu. Here is just one example with “Coral Reef” tones.
CardPresso’s user-friendliness and both Windows and MAC compatibility make it ideal for designing cards whether for business, loyalty, or school. With the simple use of a software license, you can upgrade your existing software to whatever version needed.